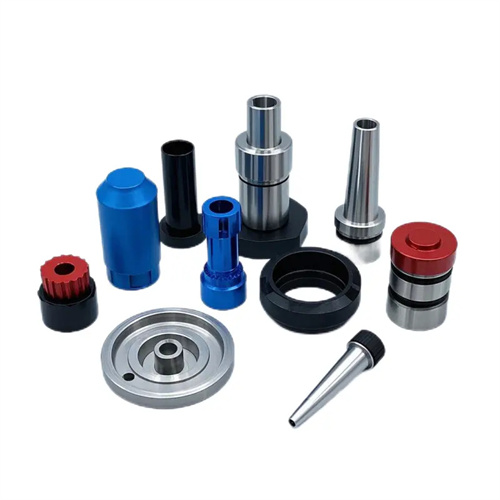
Turning eccentric workpieces on a faceplate is an important method for machining complex eccentric structures. It is particularly suitable for workpieces that are difficult to clamp with two centers or have large eccentricities, such as eccentric disks and eccentric sleeves. The faceplate is a circular plate mounted on the lathe spindle. Its surface is decorated with numerous evenly spaced T-slots for mounting various fixtures, pressure plates, and workpieces. By adjusting the workpiece’s position on the faceplate, the eccentric axis of the workpiece is aligned with the rotational axis of the lathe spindle, achieving eccentric machining. The greatest advantage of this method is that it can process eccentric workpieces of various complex shapes with high machining precision. With proper operation, the eccentricity error can be controlled within 0.01 mm.
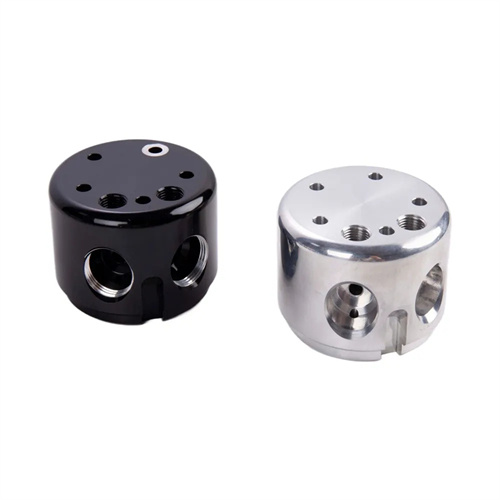
Before turning an eccentric workpiece onto the faceplate, meticulous preparation is required. The core is to determine the eccentric center of the workpiece and accurately mark it. First, calculate the eccentricity according to the drawing requirements of the workpiece, then draw a cross center line on the end face of the workpiece to determine the geometric center of the workpiece. Then, using the geometric center as a reference, measure the eccentricity in the direction of the required eccentricity, determine the position of the eccentric center, and punch a sample hole as a mark. For irregularly shaped workpieces, auxiliary positioning plates are also required to ensure the positioning accuracy of the workpiece on the faceplate. In addition, suitable clamping tools such as pressure plates, bolts, and nuts, as well as measuring tools such as dial indicators and stylus discs, are required to adjust and check the position of the workpiece. Attention should also be paid to the surface accuracy of the faceplate. If there are burrs or unevenness on the surface, they should be trimmed first to avoid affecting the positioning accuracy of the workpiece.
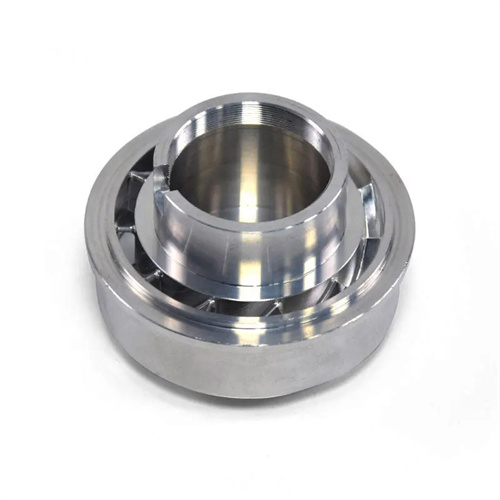
Clamping the workpiece is a critical step in turning eccentric workpieces on a faceplate, directly impacting machining accuracy. First, place the workpiece on the faceplate so that the eccentric center mark on the workpiece’s end face is aligned with the faceplate’s rotational center. Alignment is then performed using a stylus or dial indicator. When using a stylus, place the stylus tip close to the eccentric center mark on the workpiece. Slowly rotate the faceplate, observing the deviation between the stylus and the mark, and gradually adjust the workpiece’s position until the stylus and the mark are nearly aligned. When using a dial indicator, secure the indicator to the tool holder, place the stylus in contact with the workpiece’s outer diameter or end face, rotate the faceplate, and adjust the workpiece according to the dial indicator reading, aligning the eccentric center with the faceplate’s rotational center. This method offers higher alignment accuracy, reaching up to 0.005 mm. After alignment, securely clamp the workpiece to the faceplate using a pressure plate and bolts. Ensure uniform clamping force to prevent deformation of the workpiece due to uneven force and prevent loosening during cutting.
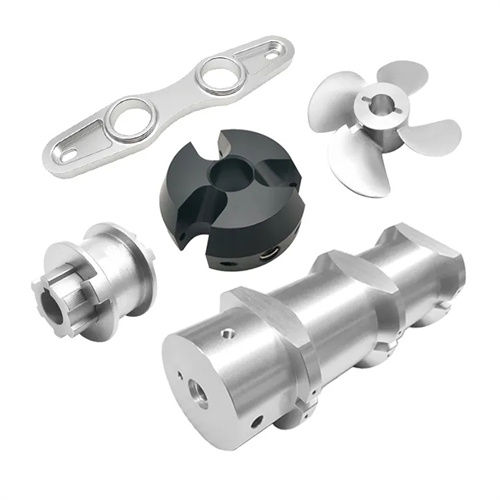
When turning eccentric workpieces on a faceplate, the selection of cutting parameters and tooling must be determined based on the workpiece material, eccentricity, and precision requirements. Because eccentric workpieces generate significant centrifugal force during rotation, which can easily cause vibration, the spindle speed should be kept to a minimum, typically 50% to 60% of the speed used for normal workpieces. For workpieces with larger eccentricities, the speed should be even lower to minimize the impact of vibration on machining quality. The feed rate and back-cut should also be appropriately reduced. The feed rate is typically 0.1 to 0.2 mm/rev, with back-cutting no more than 1 mm per pass. Multiple passes should be used to remove excess stock. For turning tools, rigid and wear-resistant carbide turning tools should be selected, with a lead angle of 90° to 95° to reduce radial cutting forces and avoid bending and deformation of the workpiece. During turning, sufficient cutting fluid should be used to lower cutting temperatures and minimize tool wear. Chips should also be removed promptly to prevent them from entanglement and impacting the workpiece.
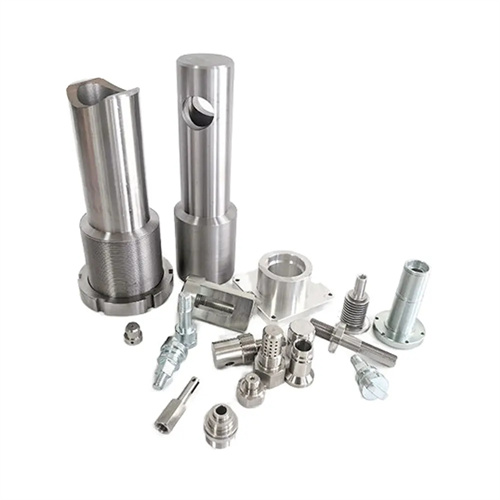
The following points should also be noted during machining to ensure machining quality and operational safety. First, since the center of gravity may shift after the workpiece is mounted on the faceplate, unbalanced forces are generated during rotation. Therefore, balancing weights should be installed symmetrically on the faceplate. The weight and position of the balancing weights should be adjusted according to the workpiece weight and eccentricity to eliminate unbalanced forces and prevent excessive lathe vibration that could affect machining accuracy and equipment life. Second, the rotation of the workpiece and the cutting condition of the tool should be monitored at all times during machining. If any abnormal vibration or noise is detected, the machine should be stopped and inspected immediately. Only continue machining after troubleshooting is resolved. After machining is completed, the actual eccentricity should be measured with a dial indicator or vernier caliper to verify compliance with the drawing requirements. If any discrepancy is detected, the workpiece’s position on the faceplate can be fine-tuned to correct the disc’s position. For eccentric workpieces requiring higher precision, fine turning and grinding are required to further improve surface quality and dimensional accuracy. Through proper clamping, correct parameter selection, and meticulous operation, high-precision eccentric workpieces can be machined on the faceplate to meet the demands of various machine parts.
