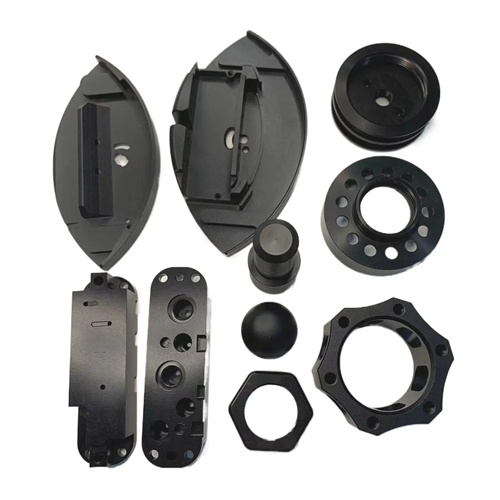
Form and position errors are important indicators of machining quality for mechanical parts, directly impacting their assembly performance and operational reliability. Form error refers to the deviation between a part’s actual and ideal geometry, such as straightness, flatness, and roundness. Position error, on the other hand, refers to the deviation between the actual and ideal positions of various elements on a part, such as parallelism, perpendicularity, and coaxiality. Accurately detecting these errors is crucial for ensuring the quality of mechanical products. Testing must be conducted in accordance with relevant national standards, taking into account the structural characteristics and precision requirements of the part, and selecting appropriate testing methods and instruments to ensure the accuracy and reliability of test results.
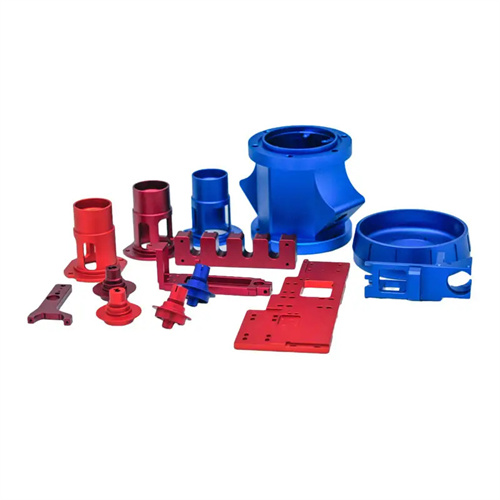
There are various methods for detecting shape errors, and the corresponding detection means must be selected according to the specific error items. For straightness errors, commonly used detection tools include knife-edge rulers, straightedges, and spirit levels. When using a knife-edge ruler for detection, the knife edge is brought into contact with the surface to be measured, and the straightness error is judged by observing the size of the gap between the two. The smaller the gap, the better the straightness. The spirit level calculates the straightness error by measuring the inclination angle of the surface to be measured, and is suitable for the detection of longer workpieces. Flatness error can be detected by the flat plate coloring method. A thin and uniform layer of paint is applied to the surface of the flat plate. The surface to be measured is then attached to the flat plate and gently slid. The flatness error is judged based on the distribution of the paint on the surface to be measured. The more uniform the distribution of the paint, the better the flatness. For planes with higher precision requirements, laser interferometers can also be used for detection, and their measurement accuracy can reach the micron level.
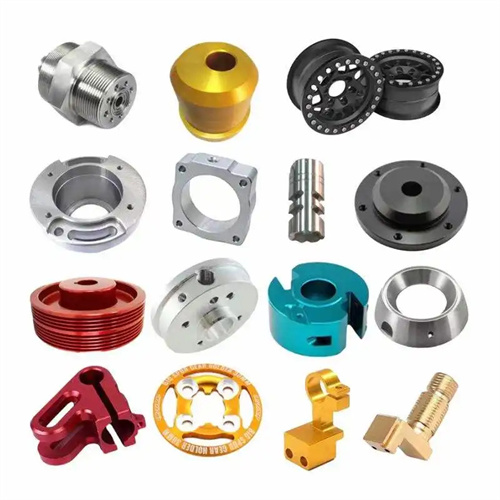
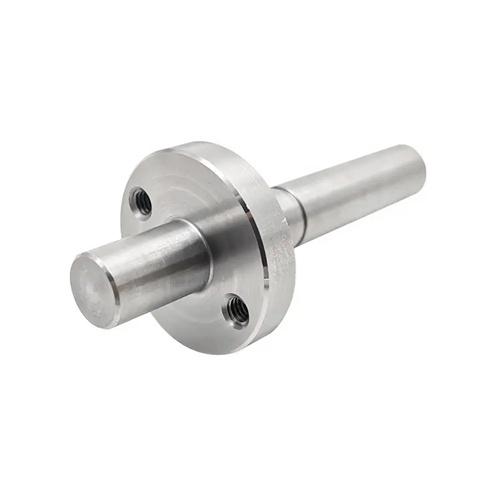
Detecting positional error is relatively complex, requiring a datum feature as a reference to determine the positional deviation of the measured element. Parallelism error is typically detected using a plane or straight line as a reference. A dial indicator or micrometer is used to measure the change in distance between the measured element and the reference feature. Smaller changes indicate better parallelism. For example, when testing the parallelism of a shaft part’s axis with a datum plane, the part can be placed on a flat plate and a dial indicator can be moved along the axis to measure the runout of the needle. This runout is the parallelism error. Perpendicularity error can be detected using a combination of a square and a dial indicator. One right-angled edge of the square is aligned with the datum plane, while the other right-angled edge is in contact with the measured surface. The squareness error is determined by observing the gap between the two or measuring the gap with a dial indicator. Coaxiality error detection requires the use of a spindle and a dial indicator. The spindle is inserted into the hole of the part. Using the spindle axis as a reference, the dial indicator is used to measure the radial runout of the measured surface. This runout is the coaxiality error.
The selection of the measurement datum is crucial in the shape and position error detection process, as it directly impacts the accuracy of the test results. The measurement datum should be aligned with the design and process datums as closely as possible to minimize errors caused by misalignment. For example, when detecting the positional error of the hole system of a box part, the bottom and sides of the box should be used as the measurement datum. This aligns with the design datum and more accurately reflects the actual positional accuracy of the part. Furthermore, the testing environment can also affect the measurement results. Changes in temperature and humidity can cause thermal deformation of the part and the testing instrument, affecting measurement accuracy. Therefore, testing should be conducted in a constant temperature and humidity environment, generally controlled at 20°C ± 2°C and 40% to 60% humidity. Furthermore, the operator’s operational skills are crucial. Operators should be familiar with the use of the testing instrument and strictly follow the operating procedures to avoid measurement errors caused by improper operation.
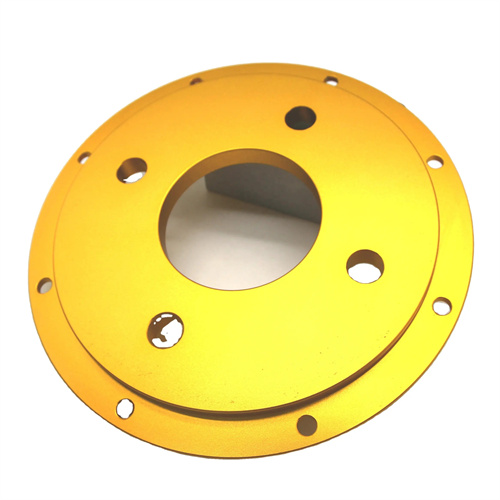
With the advancement of science and technology, shape and position error detection technology is also continuously improving. Traditional manual inspection methods, while simple to operate, are inefficient and their accuracy is significantly affected by human factors, making them increasingly unable to meet the needs of modern manufacturing. Modern inspection technologies utilize automated and intelligent testing equipment, such as coordinate measuring machines (CMMs) and laser scanners. These devices enable fully automated part inspection, significantly improving efficiency and accuracy. CMMs use three perpendicular axes to drive a probe to perform a three-dimensional scan of the part being measured, accurately measuring various shape and position errors with an accuracy of up to 0.1 micron. Laser scanners use laser beams to rapidly scan the surface being measured, analyzing the reflected light to obtain part shape and position data, making them suitable for inspecting complex curved surfaces. In the future, with the integration of artificial intelligence and machine vision technologies, shape and position error detection will become more efficient, accurate, and intelligent, providing more reliable quality assurance for the machinery manufacturing industry.
