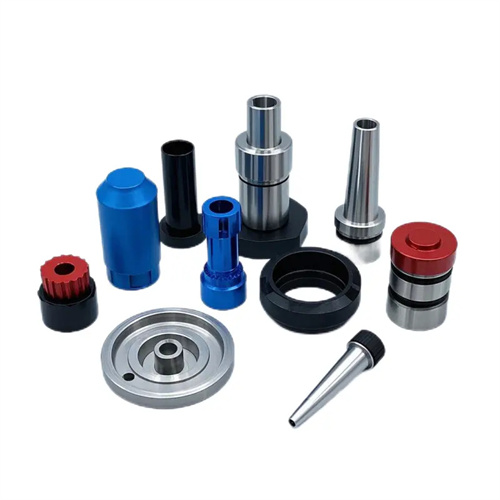
Triangular thread turning method
The triangular thread turning method is the most widely used thread processing technology in mechanical manufacturing. Its thread profile is a triangle with a 60° (metric) or 55° (imperial) angle. It features a simple structure, easy processing, and reliable connection. It is widely used in applications such as fixed connections in mechanical equipment and pipe sealing. Depending on the processing equipment and precision requirements, triangular thread turning methods can be divided into various types, such as low-speed turning, high-speed turning, and CNC turning. Each method has its own applicable scenarios and technical points. Statistics from an automotive parts factory show that triangular threads account for over 70% of all threaded connections, and their processing quality directly affects the product’s assembly efficiency and safety.
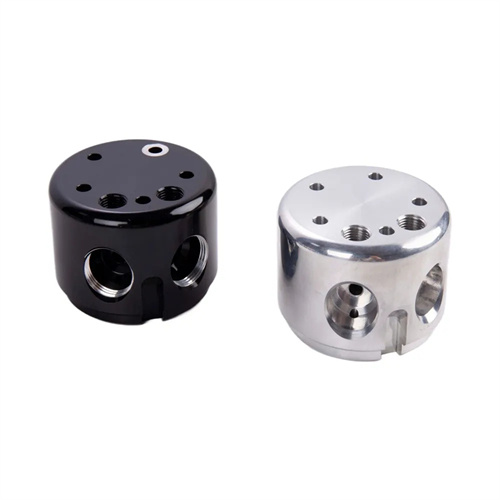
Low-speed turning is the most traditional method for machining triangular threads, suitable for single-piece, small-batch production and high-precision thread machining. This method typically uses a high-speed steel thread turning tool at a cutting speed of 5-15 m/min. The thread is gradually formed through multiple passes, with each pass having a decreasing depth of cut, ranging from 0.3-0.5 mm for the first pass to 0.05-0.1 mm for the final finish turn. The advantage of low-speed turning is that it provides adequate tool cooling, effectively preventing built-up edge (BUE) and achieving thread surface roughness of up to Ra1.6μm. However, production efficiency is relatively low and the operator’s skill level is high, requiring manual adjustment of the feed handle to ensure accurate thread lead. The advantages of low-speed turning are particularly evident when machining fine triangular threads with diameters less than 10 mm. An instrument manufacturer employs this method to produce M6×0.75 threads, achieving a consistent pass rate of over 99%.
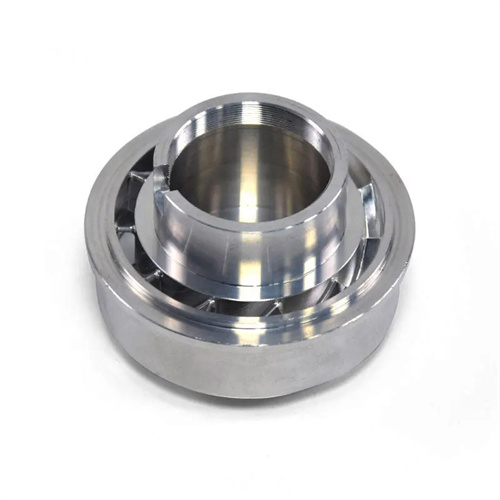
High-speed turning is the preferred process for mass-producing triangular threads. It primarily utilizes carbide thread turning tools, achieving cutting speeds of 80-200 m/min and integrating them with an automatic feed mechanism for efficient machining. High-speed turning requires cutting tools with excellent red hardness and wear resistance. Carbide grades such as YT15 and YT5 are typically used, and the toolholder utilizes a rigid clamping structure to reduce cutting vibration. To prevent thread buckling during high-speed cutting, the lathe spindle and feed screw must maintain a strict transmission ratio using a timing belt or gears. CNC lathes utilize the servo motor’s electronic gearbox function to ensure synchronization accuracy. A high-speed turning production line at a standard parts manufacturer utilizes a single-axis, multi-tool layout, achieving a cycle time of just 15 seconds for machining M12×1.75 triangular threads, with a thread pitch diameter tolerance consistently within 6g.
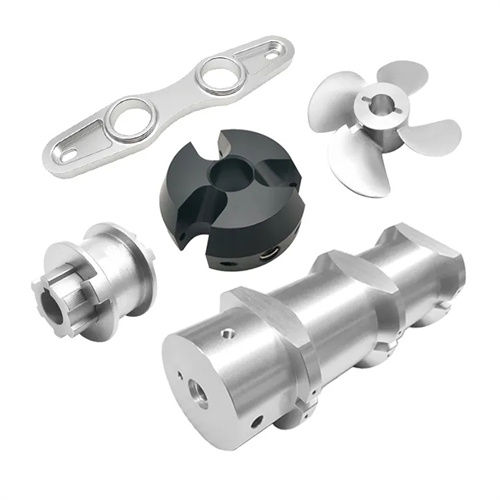
CNC turning uses program control to automate the machining of triangular threads, making it suitable for the production of complex threads (such as variable diameter threads and multi-start threads) and high-precision threads. Programming requires accurate setting of parameters such as the major diameter, pitch, and thread angle. Thread cutting commands such as G32, G92, or G76 are used. The G76 command enables oblique cutting, reducing wear on one side of the tool and making it particularly suitable for threading high-strength materials. The advantage of CNC turning lies in its ability to programmatically compensate for tool wear and machine tool errors. For example, when machining triangular threads in titanium alloy, an aviation company incorporated a temperature compensation coefficient into the program, maintaining thread accuracy within the 7h range even when the ambient temperature fluctuated by ±5°C. Furthermore, the CNC lathe’s constant linear speed ensures uniform surface quality along the entire length of the thread, avoiding the roughness differences at both ends of the workpiece caused by linear speed variations on conventional lathes.
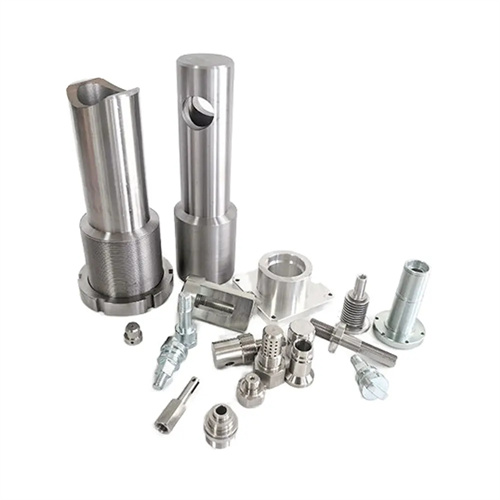
Quality control for triangular thread turning requires comprehensive coverage of the entire machining process. During the pre-processing stage, the workpiece’s roundness and straightness must be checked. Any errors exceeding 0.1mm/m require prior straightening or rough turning. During tool installation, a tool setter must be used to calibrate the tool tip height and angle to ensure alignment with the workpiece axis and symmetry of the thread angles. During the cutting process, cutting fluid temperature must be controlled, with emulsions used for steel and extreme-pressure cutting oils used for stainless steel, to prevent burns on the thread surface. Inspection procedures include using thread ring and plug gauges for go/no-go testing, measuring the pitch diameter with a thread micrometer, and checking the thread angle with a universal angle gauge. A valve manufacturer has implemented a “three-step inspection system” that requires checking the major diameter after rough turning, measuring the pitch diameter after semi-finish turning, and conducting a comprehensive inspection after finish turning. This has increased the first-pass pass rate for triangular threads from 85% to 98%. With the advancement of intelligent manufacturing technology, triangular thread turning is increasingly enabling intelligent optimization of process parameters and online quality monitoring, providing reliable support for the high-quality development of mechanical products.
