Turning deep groove ball bearings
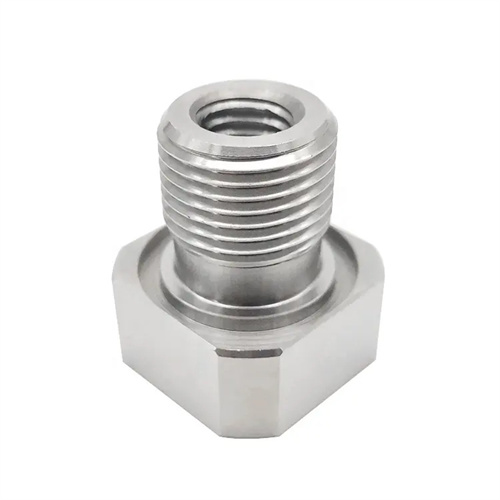
Turning deep groove ball bearings is a critical process in bearing manufacturing. As the most widely used rolling bearing, the accuracy of the raceways and end faces of the inner and outer rings of deep groove ball bearings directly impacts the bearing’s rotational accuracy, vibration, noise, and service life. Turning operations must ensure the coaxiality of the inner ring’s inner bore, the outer ring’s outer diameter, and the raceway, as well as that parameters such as the raceway’s curvature radius and groove position meet design requirements. Tests conducted by a bearing research institute have shown that for every 0.01mm increase in raceway diameter error, the bearing’s vibration velocity level can increase by 2-3dB. Deep groove ball bearing turning is typically divided into two production lines: inner ring turning and outer ring turning. These processes utilize a multi-step flow process, starting with bar or tube stock and proceeding through rough turning, semi-finishing turning, and finish turning to achieve a workpiece shape that meets pre-grinding requirements.
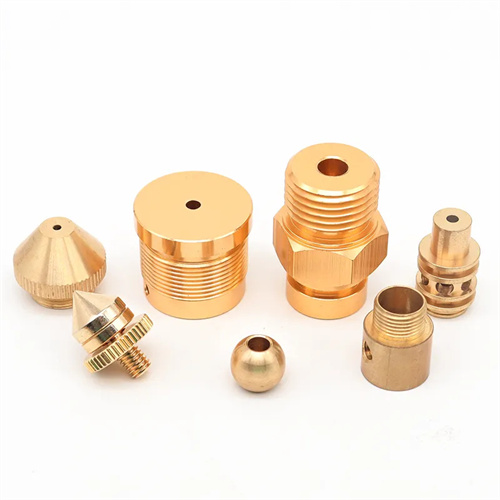
The turning process for deep groove ball bearing inner rings focuses on controlling the coaxiality of the inner bore and raceway. The typical structure of an inner ring includes an inner bore, two end faces, an outer raceway, and ribs. During turning, the end faces and inner bore are first rough-turned, using the blank’s outer diameter for positioning, to remove most of the machining allowance. Then, using the inner bore for positioning (using a centering fixture), the outer raceway and the other end face are semi-finished, ensuring coaxiality between the inner bore and outer raceway within 0.01mm. Finally, finish turning is performed, with the raceway curvature machined on a cylindrical grinder or specialized lathe to control the raceway radius deviation within ±0.005mm. The material being processed is primarily high-carbon chromium bearing steel (such as GCr15). Carbide tools (such as YT15) are used for rough turning, with cutting speeds of 80-120 m/min and feeds of 0.2-0.3 mm/r. Ultrafine-grained carbide (such as YC45) is used for finish turning, combined with extreme-pressure emulsion to achieve a surface roughness of Ra1.6μm, laying the foundation for subsequent grinding. By optimizing the positioning datum for inner ring turning, a bearing manufacturer reduced the coaxiality between the inner bore and raceway from 0.015mm to 0.008mm, significantly improving the bearing’s rotational accuracy.
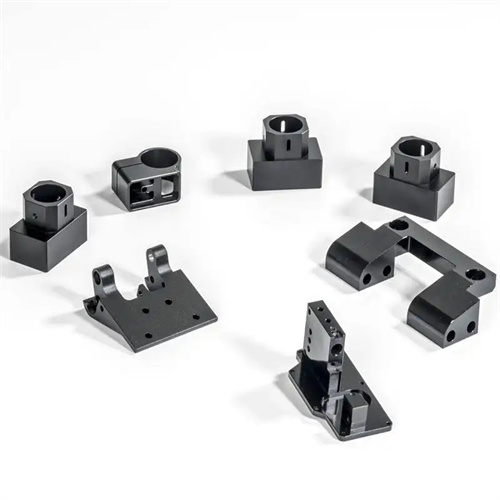
The turning process for the outer ring of a deep groove ball bearing requires ensuring the positional accuracy of the outer diameter and raceway. The outer ring’s structure features an outer diameter, two end faces, an inner raceway, and ribs. During turning, the outer diameter and end faces are first rough-turned, using the inner bore of the blank for positioning to remove scale and casting defects. The inner raceway and the other end face are then semi-finished, using the outer diameter for positioning (using a three-jaw self-centering chuck). The chuck’s clamping force is adjusted to prevent workpiece deformation. During the finish turning phase, a dedicated profiling device is used to shape the curvature of the inner raceway to ensure concentricity with the outer diameter. For large outer rings (over 100mm in outer diameter), aging treatment is required after finish turning to eliminate machining stresses. During machining, the outer diameter’s dimensional accuracy must be controlled within the h6 tolerance zone, and the end face flatness must not exceed 0.005mm/100mm to ensure uniform axial clearance during bearing assembly. When a certain wind power bearing company processes large outer rings, it uses the power turret of a CNC lathe to complete multi-process processing, and achieves turning of the outer circle, end face and raceway in one clamping, so that all form and position errors are controlled within 1/2 of the design requirements.
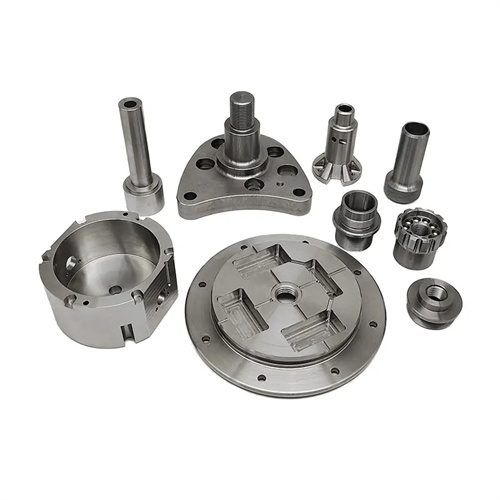
The tool and fixture design for deep groove ball bearing turning must meet high precision and efficiency requirements. The roller raceway turning tool uses a profiled turning tool with a cutting edge radius that matches the designed roller raceway radius and a passivated cutting edge (0.02-0.05mm) to prevent microcracks during machining. The facing tool uses a 90° carbide offset tool with a rake angle of 5°-8° and a relief angle of 6°-10° to reduce cutting forces and vibration. Regarding fixtures, the centering fixture for inner ring turning must utilize an elastic sleeve structure to evenly distribute the tension and prevent elliptical deformation of the inner hole. The three-jaw chuck for outer ring turning must be precision-ground to achieve a jaw positioning accuracy of 0.005mm. Soft jaws should be used when necessary to protect the workpiece surface. A CNC turning fixture used by a precision bearing manufacturer is equipped with an online measurement device that monitors workpiece diameter changes in real time. When deviations are detected, tool compensation is automatically adjusted to maintain a dimensional compliance rate above 99.5%.
Quality inspection and process optimization for deep groove ball bearing turning are carried out throughout the entire production process. Key inspection items include: inner and outer ring diameters (using an outside micrometer or inside dial indicator), raceway curvature radius (using a radius template or profilometer), end face parallelism (using a flat plate and dial indicator), and coaxiality (using a roundness tester). For mass-produced bearings, sampling inspection is required in accordance with GB/T 307.1. 5% of each batch is sampled for full inspection, with a focus on the surface quality of the raceways. Defects such as cracks, scratches, and burns are not permitted. In terms of process optimization, a bearing group analyzed the relationship between turning parameters and quality through big data and found that when the finishing feed rate was reduced from 0.15mm/r to 0.1mm/r, the waviness of the raceway surface could be reduced by 30%. The vibration and noise levels of the bearings after this adjustment were significantly improved. As the bearing industry’s requirements for precision continue to increase, turning processing is gradually becoming more closely connected with grinding technology. Through the optimization of the integrated “turning-grinding” process parameters, high-performance manufacturing of deep groove ball bearings can be achieved.
