Cutting amount
Cutting parameters collectively refer to the three parameters of cutting during the cutting process: cutting speed, feed rate, and depth of cut. Together, they determine cutting efficiency, tool life, and process quality, and are central to the development of cutting processes. Proper selection of cutting parameters can maximize production efficiency and reduce costs while ensuring quality. Cutting speed, measured in m/min, refers to the instantaneous velocity of a point on the tool’s cutting edge relative to the workpiece surface in the direction of its primary motion. Feed rate, measured in mm/r (for turning) or mm/z (for milling), refers to the tool’s displacement relative to the workpiece in the feed direction. Depth of cut, measured in mm, reflects the depth of the cutting layer, reflecting the thickness of the cutting layer. A machining plant achieved significant economic benefits by optimizing cutting parameters when machining 45 steel shafts, reducing processing time by 25% and extending tool life by 30%.
The selection of cutting speed requires a comprehensive consideration of the tool material, workpiece material, and processing requirements. The heat resistance of the tool material is a key factor in determining cutting speed. High-speed steel tools have lower heat resistance and typically have lower cutting speeds, typically 10-50 m/min when machining steel, and 20-100 m/min when machining non-ferrous metals. Carbide tools have higher heat resistance and can reach cutting speeds of 80-300 m/min, maintaining good wear resistance even when machining high-hardness materials. Ceramic and cubic boron nitride tools offer even higher heat resistance and can exceed 500 m/min, making them suitable for high-speed cutting. The hardness and strength of the workpiece material also affect the cutting speed. When machining high-strength alloys, the cutting speed should be appropriately reduced. For example, when machining titanium alloys, the cutting speed of carbide tools is typically controlled at 20-50 m/min. An aviation company uses ceramic tools to machine high-temperature alloy parts, setting a cutting speed of 150-200 m/min. This ensures machining efficiency while avoiding tool overheating and wear.
The feed rate selection must balance surface quality and tool load. A smaller feed rate produces finer cut marks and improves surface roughness, making it suitable for finishing operations. A larger feed rate improves material removal rates and is suitable for roughing operations, but it also increases tool impact force and can easily lead to tool chipping. The feed rate selection also depends on tool strength and workpiece rigidity. Rigid tools and workpieces can use a higher feed rate, while those with lower rigidity should use a lower feed rate. When machining steel, the feed rate for rough turning is generally 0.3-0.8 mm/r, and for finish turning it is 0.1-0.3 mm/r. When machining cast iron, the feed rate can be increased to 0.4-1.0 mm/r for rough turning and 0.15-0.4 mm/r for finish turning. When machining engine crankshafts at an automotive parts manufacturer, a feed rate of 0.6 mm/r was used for rough turning to improve efficiency, and then reduced to 0.15 mm/r for finish turning to ensure surface quality, achieving a surface roughness of Ra 1.6 μm for the crankshafts.
The choice of back-cut depth is primarily determined by the machining allowance and workpiece precision requirements. During roughing, most of the machining allowance should be removed at once, as much as possible, to reduce the number of tool passes and improve production efficiency. The back-cut depth can be set based on the stock allowance, generally ranging from 2 to 10 mm. During semi-finishing and finishing, the back-cut depth needs to be gradually reduced, with a value of 0.5 to 2 mm for semi-finishing and 0.1 to 0.5 mm for finishing, to ensure machining accuracy and surface quality. The size of the back-cut depth directly affects the magnitude of the cutting force. Excessive back-cut depth can lead to a sharp increase in cutting force, potentially causing workpiece deformation, machine vibration, or tool damage. Therefore, it needs to be determined based on the rigidity of the machine tool, tool, and workpiece. When machining large steel forgings at a heavy machinery plant, the back-cut depth on the first pass reached 10 mm, quickly removing scale and surface defects. Subsequent passes gradually decreased, improving efficiency while protecting equipment and tools.
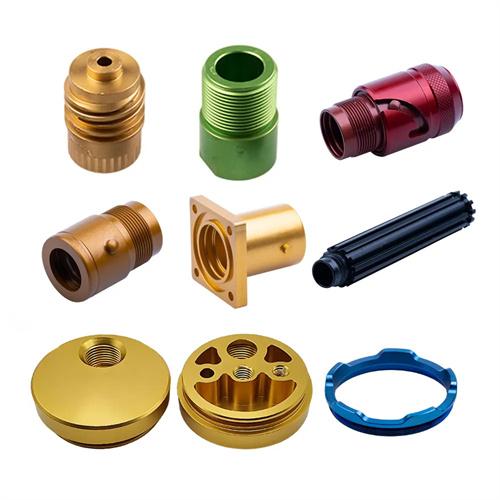
Optimizing cutting parameters is a systematic project that requires striking a balance between machining quality, production efficiency, and tool life. In actual production, the maximum allowable cutting speed is usually determined based on the workpiece material and tool performance. The appropriate feed rate is then selected based on the surface quality requirements. Finally, the back-cutting amount is determined based on the machining allowance. When problems such as excessive tool wear, deterioration of workpiece surface quality, or machine tool vibration occur during machining, the cutting parameters need to be adjusted promptly. With the development of intelligent manufacturing technology, adaptive cutting systems have begun to be applied in production practice. These systems can monitor cutting forces, temperature, vibration, and other signals during the cutting process in real time, automatically optimize cutting parameters, and achieve dynamic adjustment of the machining process. After adopting the adaptive cutting system on the production line of a smart factory, cutting efficiency increased by 20%, tool consumption decreased by 15%, and product quality consistency was significantly improved. It is foreseeable that with the continuous advancement of technology, the selection of cutting parameters will become more scientific and precise, providing strong support for the efficient and high-quality development of the machinery manufacturing industry.
