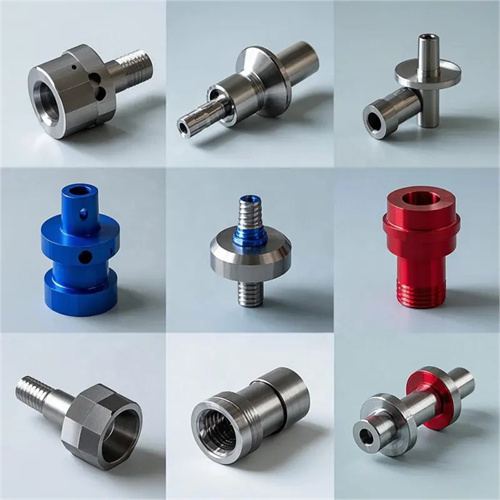
Turning of Large Diameter Inner Spherical Surface of Steel
Large-diameter steel inner spherical surfaces typically refer to concave spherical surfaces with a diameter exceeding 300mm. They are widely used in heavy machinery parts such as pressure vessel heads, valve housings, and large bearing seats. The quality of their machining directly impacts the sealing performance, load-bearing capacity, and service life of the equipment. Turning large-diameter steel inner spherical surfaces presents numerous challenges: the workpiece’s large size and weight (up to several tons) make clamping and positioning difficult; the large radius of curvature of the spherical surface makes precise control of the tool’s trajectory difficult; and the high cutting resistance of steel (such as Q345R and 45 steel) leads to severe tool wear. Therefore, turning large-diameter steel inner spherical surfaces requires specialized equipment, appropriate tooling, and a well-designed process. Through step-by-step machining and precision control, the roundness (error ≤ 0.05mm), surface roughness (Ra 3.2μm or less), and positional accuracy relative to the datum are guaranteed.
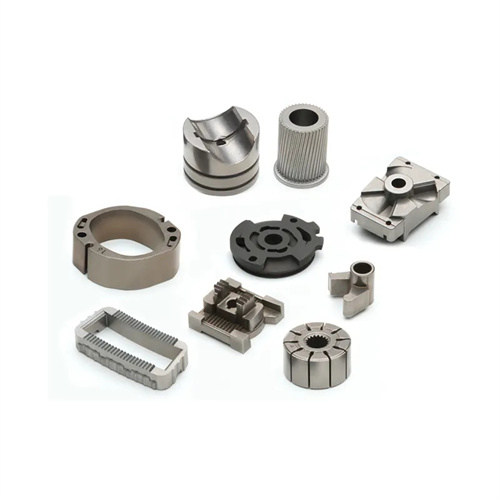
The equipment selected for turning large-diameter internal spherical surfaces in steel must meet rigidity and travel requirements. Commonly used equipment includes floor-standing lathes, vertical lathes, and CNC gantry lathes. Floor-standing lathes have large spindle bore diameters (up to 1000mm), enabling the machining of internal spherical surfaces up to 5000mm in diameter, making them suitable for single-piece, small-batch production. Vertical lathes have a strong worktable load capacity (up to 50 tons) and stable spindle speed, making them suitable for machining internal spherical surfaces with diameters of 1000-3000mm. The spherical trajectory is achieved through a combination of vertical and horizontal feeds on the tool holder. For large-diameter internal spherical surfaces requiring high precision (roundness error ≤ 0.03mm), CNC gantry lathes are required. These machines offer X- and Z-axis positioning accuracy of 0.01mm/1000mm, precise tool motion control through circular interpolation, and are equipped with automatic feeding and tool monitoring systems to improve processing efficiency and safety. The guide rails and spindles of the equipment need to be maintained regularly to ensure feed accuracy and rotation stability. For example, the radial runout of the worktable of a vertical lathe should be controlled within 0.02mm to avoid spherical machining errors caused by insufficient equipment precision.
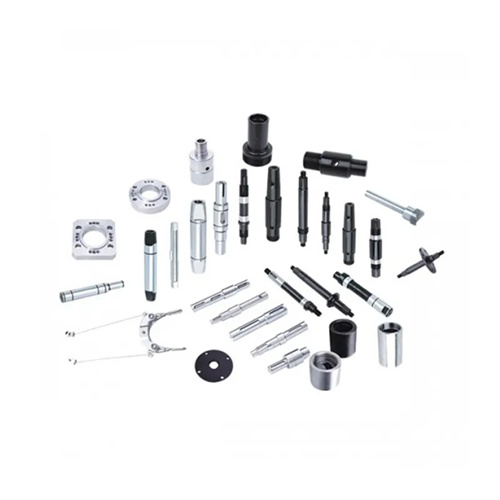
Tool selection and geometry design must be tailored to the cutting characteristics of large-diameter internal spherical surfaces in steel. Due to the large machining allowance (typically 5-10mm), rough turning requires the use of rigid and wear-resistant carbide tools, such as YW2 general-purpose carbide, which has a bending strength of ≥1500MPa and is suitable for machining carbon and low-alloy steels. Toolholders should be made of 45 steel (HB220-250) quenched and tempered, with a cross-section of at least 30×40mm to reduce cutting vibration. For finish turning, TiAlN-coated carbide tools (such as CCMT09T304) with a coating thickness of 3-5μm should be used. This coating can increase wear resistance by 2-3 times and reduce tool changes. Regarding tool geometry, a leading rake angle of 45°-60° is recommended to balance radial and axial cutting forces; a rake angle of 8°-12° minimizes cutting deformation; a clearance angle of 6°-8° reduces flank friction; and a nose radius of 1-2mm enhances tip strength and prevents chipping. For different areas of the sphere (such as near the center and the edge), tool bars of different lengths are required to ensure that the tool does not interfere with the workpiece during processing. The extended length of the tool bar should be 50-100mm larger than the radius of the sphere to reserve sufficient space for movement.
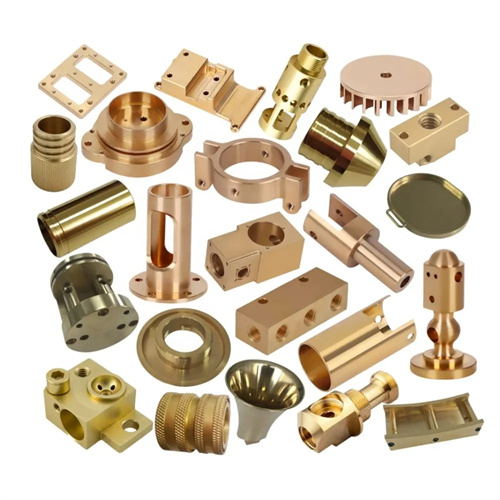
The turning process for large-diameter internal spherical surfaces in steel requires a step-by-step machining strategy, consisting of three phases: rough turning, semi-finishing, and finishing. Rough turning aims to remove the majority of the stock. A layered cutting method is employed, with a cutting depth of 2-3mm per layer, a feed rate of 0.2-0.3mm/r, and a cutting speed of 80-100m/min. The sphere is machined to a size 2-3mm larger than the drawing dimensions, approximating the theoretical spherical shape. Semi-finishing turning involves adjusting the cutting parameters to a cutting depth of 1-1.5mm, a feed rate of 0.15-0.2mm/r, and a cutting speed of 100-120m/min. The spherical shape is further refined, leaving a 0.5-1mm stock allowance for finishing. The roundness error of the sphere is also checked, and corrections are required if the error exceeds 0.1mm. Finish turning is a critical stage for ensuring precision. A small depth of cut (0.1-0.3mm), low feed rate (0.08-0.12mm/r), and high cutting speed (120-150m/min) are employed. A high-pressure cooling system (5-8MPa) sprays cutting fluid directly into the cutting zone to reduce cutting temperatures. The finish turning process requires multiple measurements, using a ball gauge or coordinate measuring machine to check the spherical surface dimensions and ensure that the ball diameter error is within ±0.05mm.
Clamping positioning and precision control are the difficulties in turning large diameter internal spherical surfaces of steel. The workpiece clamping should adopt ” one side two pins” The workpiece’s end face serves as the primary positioning reference, with two locating pins used to restrict circumferential rotation. The work surface is covered with a non-slip mat (such as a rubber sheet) to prevent the workpiece from sliding under cutting forces. A hydraulic chuck or screw clamp is used for the clamping device, ensuring uniform clamping force and preventing workpiece deformation. Asymmetrical workpieces with internal spherical surfaces require counterweight balancing to prevent vibration caused by centrifugal forces during machining. Balancing accuracy should meet G6.3 ( unbalance ≤ 1.6 kg · mm at a speed of 100 rpm ). During machining, roundness errors in the spherical surface can be corrected by adjusting the tool feed path. For example , a ” test cut – measure – compensation” method is used. Compensation values are added to the CNC program based on the measurement results to gradually reduce the roundness error. After machining, the spherical surface’s shape should be checked with a template. The contact area between the template and the spherical surface should be ≥ 80%. The surface quality should be tested with a surface roughness tester to ensure compliance with design requirements. For inner spherical surfaces with sealing requirements (such as pressure vessel heads), water pressure tests or penetration tests are also required to check for defects such as cracks and pores to ensure safety in use.
Auxiliary measures and safety precautions must not be ignored when turning large-diameter internal spherical surfaces in steel. Due to the large size of the workpiece, a crane or forklift is required for clamping. During operation, attention must be paid to hoisting balance to prevent the workpiece from colliding with equipment or personnel. The hoisting point should be located on the workpiece’s reinforcement or load-bearing areas to prevent deformation. The choice of cutting fluid should take into account both cooling and lubrication. For rough turning, use an emulsion (concentration of 10%-12%), and for finish turning, use extreme pressure cutting oil with a flow rate of at least 50L/min to ensure adequate cooling and reduce tool wear. Guardrails should be installed in the processing area, and operators should wear protective glasses and hard hats to avoid injury from flying chips. In addition, the wear status of the tool and the secureness of the workpiece clamping should be checked regularly, at least once an hour, and the machine should be shut down immediately if any abnormality is found. Through a comprehensive process plan and strict safety measures, efficient, high-precision, and safe processing of large-diameter internal spherical surfaces in steel can be achieved, meeting the stringent requirements of heavy machinery manufacturing.
