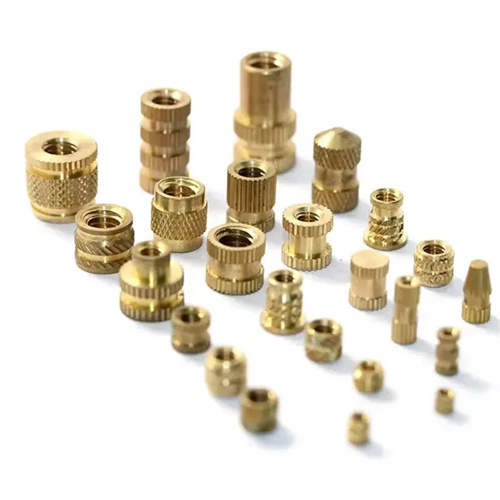
Roller rolling processing method
Roller rolling is a non-cutting machining method that applies pressure to the workpiece surface, causing plastic deformation of the surface metal, thereby improving surface quality and mechanical properties. Widely used in the finishing of shafts, sleeves, and flat parts, it can increase surface hardness (by 20%-50%), reduce surface roughness (up to Ra0.02μm), and enhance fatigue strength (by 30%-60%). The effectiveness of roller rolling depends on the roller shape and material, rolling parameters (pressure, feed rate, speed), and the plasticity of the workpiece material. The process offers advantages such as high efficiency, low cost, and chip-free production, making it an effective alternative to traditional finishing methods such as grinding and polishing.
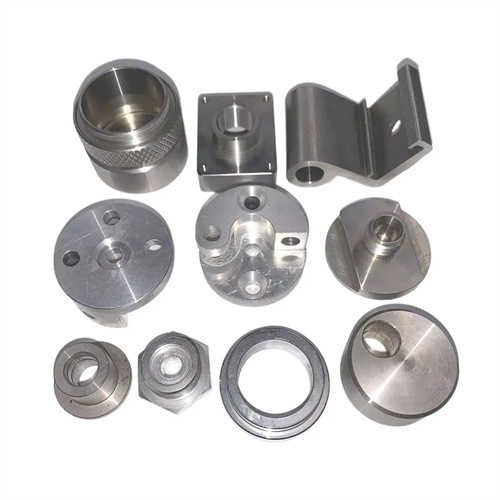
The basic principle of roller rolling is to utilize the plastic deformation properties of metal. Through the relative motion of the roller and the workpiece, a certain pressure is applied to the workpiece surface, causing the surface metal to plastically flow, filling the microscopic valleys on the surface and forming a smooth surface. During the rolling process, a cold-work hardened layer (0.1-0.5mm deep) is formed on the workpiece surface, increasing dislocation density and refining the metal grains, thereby improving surface hardness and wear resistance. For example, after rolling, the surface hardness of 45 steel parts can be increased from HB200 to HB250-300, and fatigue life can be extended by 2-3 times. Rolling can also improve the shape accuracy of parts. Through appropriate roller design and parameter settings, small roundness errors (≤0.01mm) and cylindricity errors (≤0.02mm/m) can be corrected, achieving dimensional accuracy within IT6-IT7 levels.
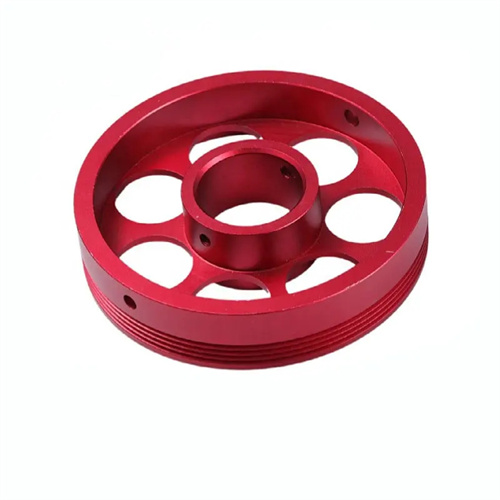
The design and selection of rollers are central to the rolling process and must be determined based on the workpiece’s shape and material properties. Roller materials must possess high hardness and wear resistance. Commonly used materials include Cr12MoV (hardened to HRC60-62), cemented carbide (such as YG8 and WC-Co alloy), and high-speed steel (W18Cr4V). Carbide rollers are suitable for machining difficult-to-machine materials like high-strength steel and high-temperature alloys, and have a service life 5-10 times that of high-speed steel rollers. The shape of the roller must match the workpiece surface: cylindrical rollers are used for machining outer cylindrical surfaces, with a typical diameter of 50-100mm and a width of 10-30mm; curved rollers are used for machining spherical surfaces, with a curvature radius consistent with the workpiece’s spherical surface; and combined rollers are used for machining stepped shafts, allowing surfaces of varying diameters to be rolled simultaneously. The working surface of the roller needs to be polished to Ra0.02μm or less to avoid scratching the workpiece surface. The roller’s fillet radius (0.5-2mm) needs to be moderate. Too small will cause indentations on the workpiece surface, and too large will reduce the rolling effect.
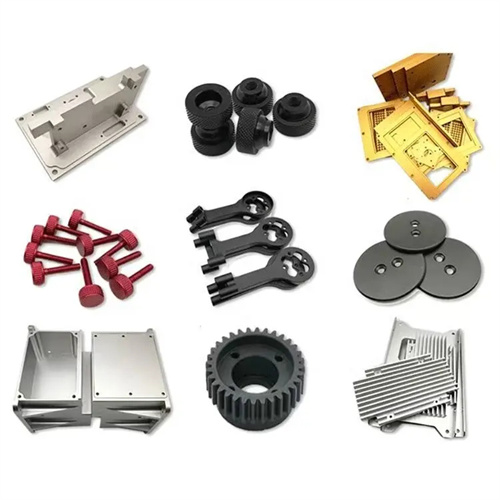
Optimizing rolling parameters, primarily including rolling force, feed rate, and rolling speed, is key to ensuring machining quality. The rolling force should be adjusted based on the hardness and plasticity of the workpiece material. For low-carbon steel (such as 20 steel), the rolling force is 10-20 MPa; for medium-carbon steel (such as 45 steel), the rolling force is 20-30 MPa; and for high-strength steel (such as 40Cr), the rolling force is 30-40 MPa. Too little rolling force will result in insufficient surface plastic deformation and fail to achieve the desired surface quality. Too much rolling force will cause workpiece deformation, increased roller wear, and even cracks. The feed rate is generally 0.1-0.3 mm/r. Too little will increase machining time, while too much will result in uneven surface plastic deformation and increased surface roughness. Rolling speeds are typically 50-200 m/min. Too little speed reduces efficiency, while too much speed can cause surface annealing due to frictional heat generation, reducing hardness. For example, when rolling a 45 steel shaft (50mm in diameter), a rolling force of 25MPa, a feed rate of 0.2mm/r, and a speed of 100m/min are used to obtain a surface roughness of Ra0.1μm and a surface hardness of HB280.
Rolling process measures and quality control must be implemented throughout the entire process. The surface quality of the workpiece before rolling significantly impacts the rolling results. The surface roughness of the previous process must be ≤ Ra3.2μm and the roundness error ≤ 0.03mm. Otherwise, existing surface defects cannot be eliminated after rolling. A cooling lubricant, typically an extreme-pressure emulsion or gear oil, is required during rolling to reduce friction between the roller and the workpiece, lower the surface temperature, and prevent metal adhesion to the roller. For workpieces with low rigidity, such as slender shafts and thin-walled parts, auxiliary supports (such as a steady rest) are required to prevent bending deformation during rolling. The support force should be adjusted to 2-5N, aligned with the direction of the rolling force. After rolling, the workpiece undergoes dimensional measurement and surface quality inspection. Diameters are measured with a micrometer (tolerance controlled within ±0.01mm), surface roughness is tested with a surface roughness tester, and surface hardness is tested with a hardness tester. For critical parts, fatigue testing is also required to verify the performance improvement achieved after rolling. Through reasonable process design and parameter optimization, roller rolling processing can significantly improve the surface quality and mechanical properties of parts, providing a guarantee for the high-quality operation of mechanical products.
