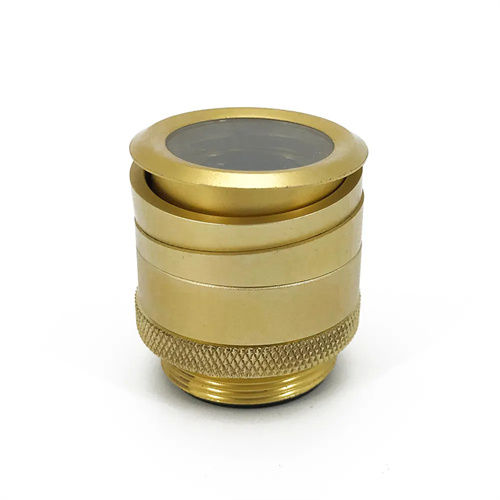
Turning of shaft workpieces
Shafts are among the most common components in mechanical products, primarily used to support transmission elements, transmit torque, and bear loads. Examples include machine tool spindles, motor shafts, and reducer shafts. Turning shafts is a fundamental lathe process, and their machining quality directly impacts the assembly precision and performance of mechanical products. Shaft turning typically involves machining external diameters, end faces, steps, grooves, and threads. To ensure both quality and efficiency, the appropriate clamping method, tool, and cutting parameters must be selected based on the workpiece’s material, precision requirements, and structural characteristics.
The clamping method for shaft workpieces is crucial for turning operations, and the appropriate clamping method must be selected based on the workpiece’s length, diameter, and precision requirements. For short, thick shaft workpieces, a three-jaw chuck is generally used. This clamping method is easy to operate and offers high centering accuracy (up to 0.05-0.1 mm), making it suitable for batch processing. For long, slender shaft workpieces, a three-jaw chuck is used to clamp one end and a tailstock center to support the other. This method increases workpiece rigidity and reduces deformation during cutting. For shaft workpieces requiring higher precision, a steady rest or centering rest is also required for auxiliary support. The steady rest moves with the tool, supporting the workpiece from the side and effectively offsetting radial cutting forces. It is suitable for machining slender shafts with an aspect ratio greater than 20. The centering rest is fixed to the lathe bed to support the center of the workpiece and is suitable for machining stepped shafts or the middle section of long shafts. When clamping, it is necessary to pay attention to adjusting the clamping force to avoid deformation of the workpiece due to excessive clamping force. At the same time, it is necessary to ensure that the axis of the workpiece coincides with the axis of the lathe spindle to prevent roundness error after processing.
Tool selection and geometric parameter determination have a significant impact on the turning quality of shaft-type workpieces. External turning tools can be divided into roughing and finishing tools based on their application. Roughing tools are primarily used to remove the majority of machining allowances. Stronger carbide tools, such as YT5 and YG8, should be selected. These tools have smaller rake angles (5°-10°) and clearance angles (5°-8°) to enhance tool rigidity and durability. Finishing tools, used to ensure workpiece dimensional accuracy and surface quality, should be selected for their sharpness and wear resistance, such as YT15 and YG6. These tools have larger rake angles (10°-15°) and clearance angles (8°-12°) to reduce cutting forces and friction. The tool’s primary and secondary rake angles must also be chosen appropriately. The primary rake angle should be between 45° and 90°. A larger primary rake angle reduces radial cutting forces, which helps minimize workpiece deformation. The secondary rake angle should be between 5° and 10°. A smaller secondary rake angle reduces workpiece surface roughness, but too small an angle can increase friction between the tool and the workpiece. Furthermore, the tool’s rake angle can affect chip flow. For rough turning, a negative rake angle (-5° to 0°) directs chips toward the workpiece’s surface to be machined, avoiding scratches on the machined surface. For finish turning, a positive rake angle (0° to 5°) directs chips toward the outside of the workpiece, facilitating chip removal.
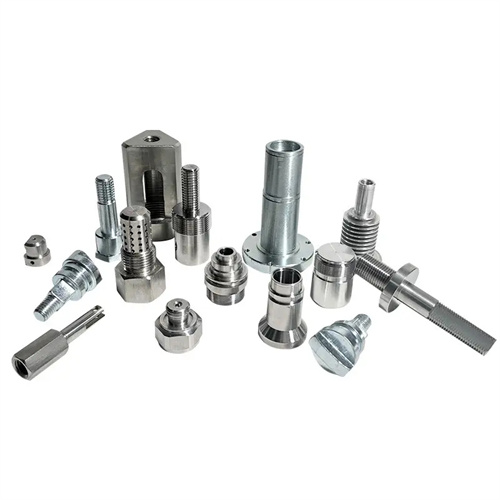
Properly setting cutting parameters is key to ensuring quality and efficiency in turning shaft workpieces. These parameters primarily include cutting speed, feed rate, and back-cutting depth. The choice of cutting speed depends on both the workpiece and tool materials. When machining plastic materials like low-carbon steel, a higher cutting speed (80-120 m/min) can be used to improve efficiency. When machining harder materials like high-carbon steel and alloy steel, the cutting speed should be lowered (40-80 m/min) to reduce tool wear. The feed rate should be determined based on the machining requirements. For rough turning, a higher feed rate (0.3-0.5 mm/rev) can be used to quickly remove machining stock. For finish turning, a lower feed rate (0.1-0.2 mm/rev) is required to ensure surface roughness (typically Ra 1.6-3.2 μm). Back-cutting depth should be applied in multiple passes based on the machining stock. Each back-cutting pass can be 2-5 mm for rough turning and 0.1-0.5 mm for finish turning. During the turning process, the cutting parameters need to be adjusted in time according to the changes in the diameter of the workpiece. For example, when turning a stepped shaft, the feed rate or back cutting amount can be appropriately reduced in the area with larger diameter to avoid deformation of the workpiece due to excessive cutting force.
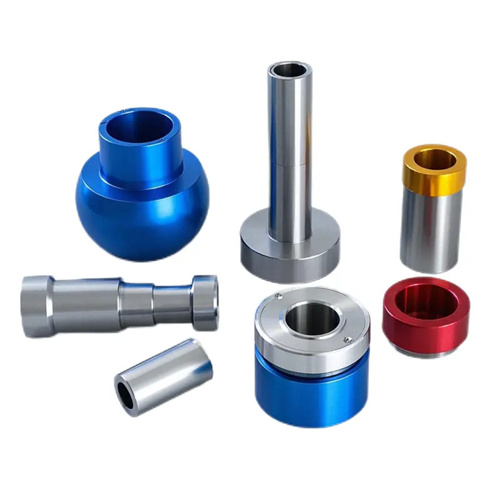
Common quality issues and solutions during the turning of shaft workpieces are as follows: Roundness errors on the outer diameter are primarily caused by insufficient lathe spindle rotation accuracy, improper workpiece clamping, or poor tool rigidity. These can be addressed by checking the spindle bearing clearance, re-clamping the workpiece, or replacing a more rigid tool. Cylindricity errors are often caused by guideway straightness errors or uneven tool wear, requiring guideway clearance adjustment or tool replacement. Unsatisfactory surface roughness is often caused by blunt tool edges, excessive feed rates, or inadequate cooling. These issues require regrinding or replacing the tool, reducing feed rates, and increasing cooling and lubrication. Furthermore, for shaft workpieces with steps, ensuring the perpendicularity of the step end face to the axis is crucial. This can be achieved using a step turning tool, turning the outer diameter first and then the end face to ensure perpendicularity. After machining, the shaft workpiece requires comprehensive testing for dimensional accuracy, form and position accuracy, and surface quality. Use a micrometer to measure the outer diameter, a dial indicator to check roundness and cylindricity, and a surface roughness tester to verify surface quality to ensure the workpiece meets design requirements. Through reasonable clamping, correct tool selection and cutting parameter setting, as well as effective quality control measures, high-quality shaft workpieces can be turned to meet the use requirements of mechanical products.
