Bevel gear processing technology
Bevel gears are key components for transmitting motion and power between two intersecting shafts. Based on their tooth profile, they can be categorized as spur bevel gears, helical bevel gears, and curved bevel gears. They are widely used in automobiles, machine tools, engineering machinery, and other fields. The manufacturing process for bevel gears is complex, requiring multiple steps, including blank preparation, heat treatment, cutting, tooth profile machining, final heat treatment, and finishing. Each step significantly impacts the gear’s accuracy, strength, and service life. A well-defined manufacturing process is crucial for ensuring bevel gear quality.
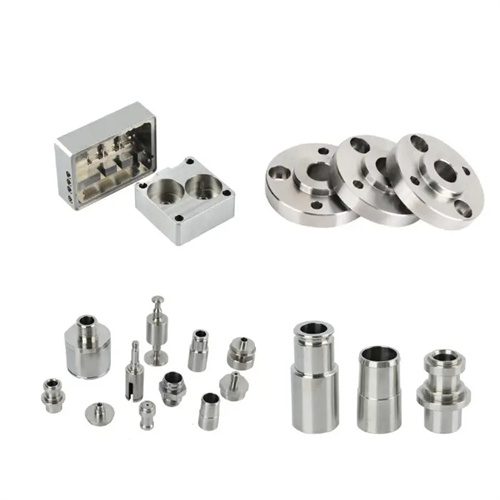
Bevel gear blank preparation methods vary depending on gear size, precision requirements, and production batch size. For small and medium-sized bevel gears, forged blanks can be used. Forging improves the metal’s microstructure, enhancing the gear’s strength and toughness, making it suitable for gears bearing heavy loads. For large-scale production of small and medium-sized bevel gears, cast blanks are often used, typically made of ductile iron (such as QT600-3) or cast steel. Cast blanks offer lower cost and higher production efficiency, but their strength is slightly lower than forged blanks. For bevel gears with lower precision requirements, direct machining from round steel can also be used. Blank size should be determined based on gear parameters and machining allowances. It is generally 5-10 mm larger than the finished product size to ensure sufficient margin for subsequent machining to remove surface and internal defects. After preparation, the blanks must be inspected for defects such as cracks and shrinkage cavities. Only qualified blanks can proceed to the next process.
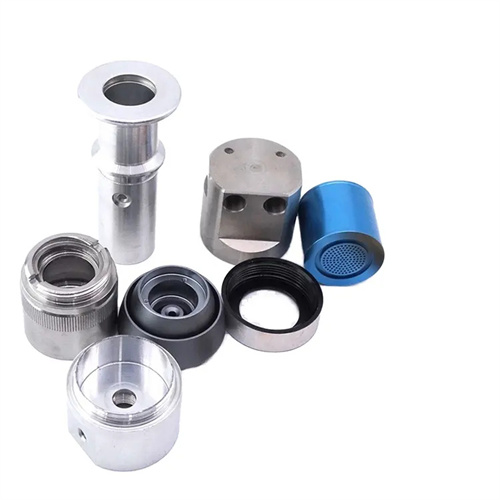
Rough machining of bevel gears involves turning and drilling, primarily to remove the majority of the machining allowance and establish the basic gear shape. Turning involves machining the gear’s datum surface, outer diameter, end face, and shaft hole. The datum surface is typically the large end face and inner hole of the gear to ensure positioning accuracy during subsequent tooth profiling. During turning, bevel gears with shafts can be clamped using a three-jaw chuck and tailstock center; bevel gears with holes can be positioned using a mandrel. The clearance between the mandrel and the inner hole should be controlled within 0.01-0.02 mm to ensure positioning accuracy. When turning the outer diameter and end face, the cylindricity of the outer diameter, the flatness of the end face, and the perpendicularity of the end face to the inner hole must be ensured. These accuracies directly impact the quality of the tooth profile. After rough machining, a finishing allowance of 1-2 mm should be left on all gear surfaces. For gears requiring heat treatment, allowance for post-heat treatment deformation must also be considered.
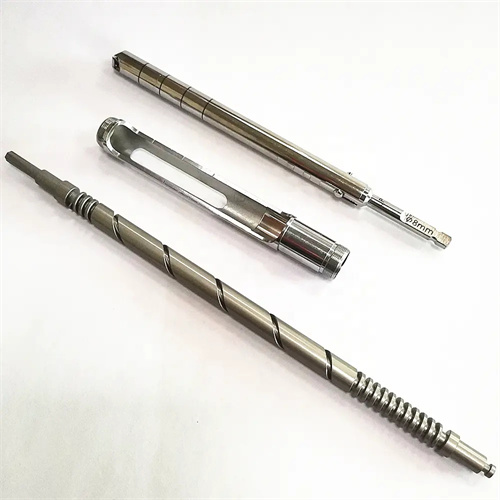
Tooth profile machining is a core step in bevel gear manufacturing. Different machining methods are used depending on the gear’s precision requirements and production batch size. For straight bevel gears with lower precision requirements (grades 9-12), milling can be used. This process uses a disc-shaped bevel gear milling cutter with the same module and tooth profile angle as the gear. During machining, the milling machine’s indexing head and table angle are adjusted to ensure the relative position of the cutter and workpiece conforms to the bevel gear’s tooth profile. While milling offers high efficiency but low precision, it’s suitable for single-piece, small-batch production. For straight bevel gears with higher precision requirements (grades 7-8), gear planing is often used. Pairs of planers are used on a gear planing machine. The planers simulate the meshing of a pair of bevel gears, producing the tooth profile through generating. This provides high precision but lower efficiency. Helical bevel gears and curved bevel gears require machining using the Gleason or Oerlikon methods. Specialized gear machining machines, such as spiral bevel gear milling machines, are used to create the required tooth profile through complex relative motion between the tool and the workpiece. This method offers high machining accuracy (up to grade 5-6) and is suitable for mass production and high-precision gears.
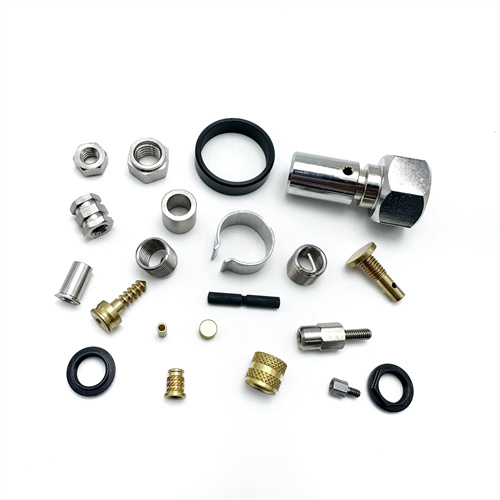
The heat treatment process for bevel gears is determined by the material and application requirements. Its purpose is to improve the gear’s hardness, strength, and wear resistance. Steel bevel gears undergo quenching and tempering after rough machining. The gears are heated to 820-860°C, held at this temperature, oil-cooled, and then tempered to 200-300°C. This results in a uniform tempered bainite structure and a hardness of 220-280 HB, improving cutting performance and overall mechanical properties. After tooth profiling, gears requiring surface hardening can undergo carburizing and quenching. The gears are placed in a carburizing furnace at 900-930°C and a carburizing agent is introduced to increase the surface carbon content to 0.8%-1.2%. The gears are then quenched and tempered at low temperatures. The resulting surface hardness can reach 58-63 HRC, while the core retains a certain toughness, making them suitable for gears subjected to impact loads. Cast iron bevel gears are generally aging treated to eliminate internal stresses and stabilize dimensions. After heat treatment, the gears are inspected for defects such as cracks.
Bevel gear finishing processes include tooth surface grinding, honing, and lapping, which are used to correct post-heat treatment deformation and improve tooth profile accuracy and surface quality. For bevel gears with high precision requirements (Grade 5-6), tooth surface grinding is required after heat treatment. This process uses a bevel gear grinding machine, employing the same generating principle as for tooth profile machining, and a grinding wheel to grind the tooth surfaces. After grinding, the tooth surface roughness can reach below Ra0.8μm, improving tooth profile accuracy by 1-2 grades. For gears with slightly lower precision requirements (Grade 7), honing can be used. A honing wheel is used to finish the tooth surfaces on a honing machine. The honing wheel meshes with the gear, and the cutting action of the abrasive particles removes minute surface excess, improving surface quality and correcting tooth profile errors. For gears with lower precision requirements but lower surface roughness requirements, lapping can be used. A lapping process involves applying abrasive paste to the mating gear and lapping the gears in meshing motion to improve tooth surface finish. After finishing, the bevel gears are inspected for pitch error, tooth profile error, and contact spots to ensure they meet design requirements. Through reasonable processing technology and strict quality control, high-quality bevel gears can be produced to ensure stable operation in the transmission system.
