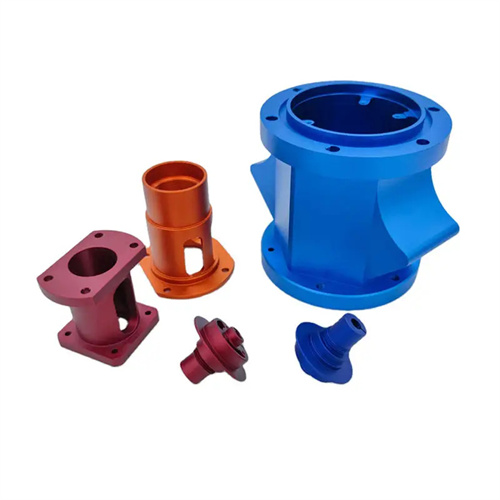
Turning of tin alloys
Tin alloys, due to their low melting point, good plasticity, and strong corrosion resistance, are widely used in electronic packaging, medical devices, and precision instruments. However, turning them poses challenges such as deformation and tool sticking, necessitating a tailored process plan. Tin alloys typically have a low hardness (Brinell hardness of 10-30 HB), and cutting forces are only 1/5-1/3 of those of 45 steel. This makes turning prone to plastic deformation in workpieces, especially thin-walled and slender parts, where ovalization or bending can occur with minimal care. Furthermore, tin alloys have a melting point of approximately 232°C. Excessively high cutting temperatures can cause the material to soften or even stick, leading to built-up edge on the tool edge and compromising surface quality. An electronic component manufacturer, while machining tin alloy package housings, optimized turning parameters to control part deformation to within 0.02 mm and achieve a surface roughness of Ra 0.8 μm.
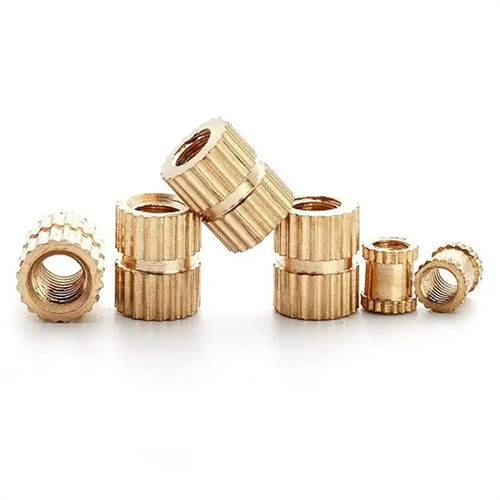
Tool selection for tin alloy turning requires a balance between sharpness and wear resistance. Due to the material’s high plasticity, the tool rake angle should be large (20°-30°) to reduce cutting resistance and extrusion deformation; the clearance angle should be 10°-15° to minimize friction between the flank and the workpiece. High-speed steel (such as W18Cr4V) is preferred as its toughness and edge sharpness reduce tool sticking and make it suitable for low-speed precision turning. For larger batches, carbide tools (such as YG8) can be used, but ensure the cutting edge is finely ground to avoid surface tearing caused by edge defects. For high-precision surfaces, diamond tools (PCD) can be used. Their extremely low coefficient of friction effectively prevents built-up edge and achieves mirror-finish turning with a surface roughness of up to Ra0.02μm. A medical device manufacturer used W18Cr4V high-speed steel tools, combined with kerosene cooling, to machine tin alloy catheters, achieving a surface quality that met biocompatibility requirements for the catheter’s inner bore.
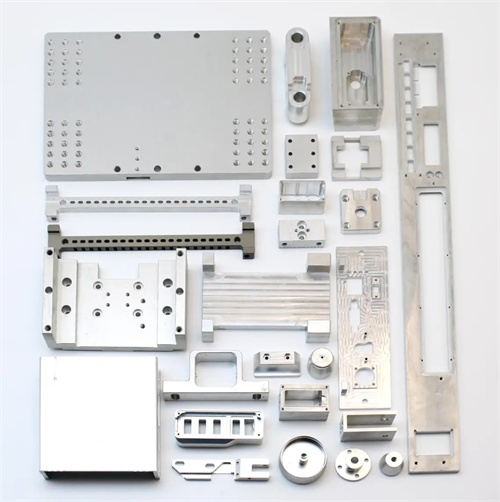
The process parameters for tin alloy turning must adhere to the principles of “low cutting forces and low cutting temperatures.” Cutting speeds should be kept to a minimum of 10-30 m/min with high-speed steel tools to prevent material softening due to elevated temperatures. Carbide tools can be increased to 30-60 m/min, but enhanced cooling is required. The feed rate should be selected based on surface quality requirements. For finish turning, maintain a speed of 0.05-0.1 mm/min to minimize surface marks. For rough turning, increase the speed to 0.1-0.2 mm/min, but ensure tool rigidity. The depth of cut should generally not exceed 1 mm. For thin-walled parts, a layered cutting method should be employed, with each cut depth controlled at 0.3-0.5 mm to prevent workpiece deformation. A precision instrument manufacturer, using a “low speed, low feed” parameter combination, achieved gear profile error within 0.01 mm, meeting precision transmission requirements.
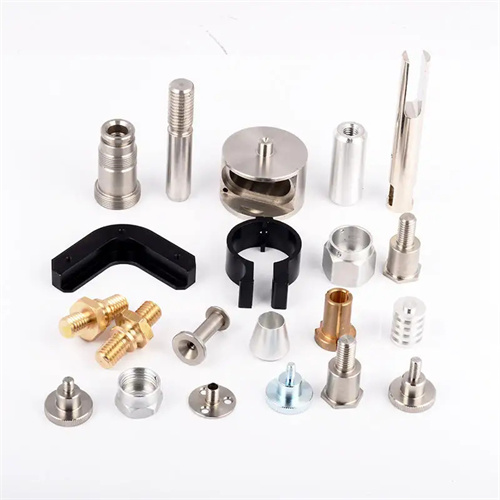
The cooling and clamping technology of tin alloy turning is the key to quality control. The cooling system needs to use a medium with good cooling performance and no corrosion to tin alloy. Kerosene or special cutting oil is an ideal choice. It can not only reduce the cutting temperature, but also play a lubricating role and reduce tool sticking. The cooling method should adopt high-pressure spraying (pressure 2-5MPa) to ensure that the cutting fluid enters the cutting area directly and removes heat in time. Flexible clamps such as soft jaws, nylon tips or vacuum suction cups should be used during clamping to avoid deformation of the workpiece caused by excessive clamping force. For slender parts with an aspect ratio greater than 5, a tool holder or center frame is required, and the support points are made of wear-resistant plastic to prevent surface scratches. When processing tin alloy waveguide tubes, an aerospace company uses a vacuum suction cup combined with a tool holder to clamp the workpiece to control the straightness error within 0.03mm/m.
Quality inspection for tin alloy turning requires careful attention to multiple indicators. Regarding dimensional accuracy, due to the material’s susceptibility to deformation, an aging treatment (at least 24 hours) is required after processing. Final measurement is then performed after stress release to ensure dimensional stability, typically achieving IT8-IT9 accuracy. Regarding geometric and positional tolerances, flatness error should be controlled within 0.01mm/100mm, and coaxiality error should not exceed 0.02mm. Surface quality must be inspected microscopically; cracks, tool sticking, or scratches are not permitted. Electrolytic polishing is performed as necessary to further enhance surface finish. Statistics from a metrology and testing agency show that tin alloy turned parts with strictly controlled process parameters achieve a dimensional pass rate exceeding 98%, significantly higher than the 75% achieved with unoptimized processes. With the expansion of tin alloy applications in high-end manufacturing, turning technology is evolving towards intelligent technology. Online monitoring of cutting forces and temperatures, enabling real-time parameter adjustments, provides reliable support for the machining of precision tin alloy parts.
