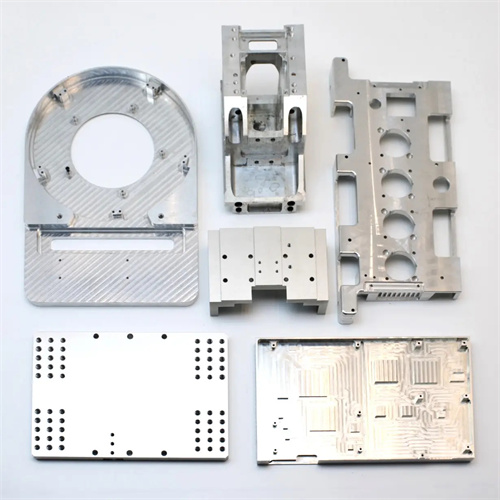
Turning of high-strength steel
High-strength steel generally refers to steel with a tensile strength exceeding 600 MPa. This includes low-alloy high-strength steel (such as Q690), ultra-high-strength steel (such as 300M), and precipitation-hardened steel (such as 17-4PH). It is widely used in aerospace, automotive, and engineering machinery applications to achieve lightweight structures and improve load-bearing capacity. However, turning high-strength steel is challenging due to its high hardness (HB250-400), excellent toughness, and severe work hardening (the hardened layer can reach a depth of 0.1-0.3mm). Cutting forces are 30%-50% greater than those of ordinary carbon steel, resulting in severe tool wear, vibration, and surface defects. Therefore, turning high-strength steel requires special measures regarding tool material, geometry, cutting parameters, and cooling and lubrication to ensure machining quality and efficiency.
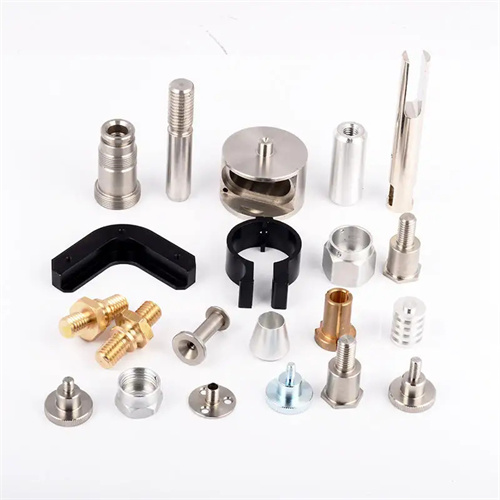
The proper selection of tool material is crucial for turning high-strength steel. It must meet high hardness, high wear resistance, and good impact resistance. Carbide tools are the primary choice for turning high-strength steel, with coated carbide (such as TiAlN-coated WC-Co alloy) being the most widely used. TiAlN coatings achieve a hardness of HV3000 and an oxidation temperature of over 800°C, effectively reducing adhesion and diffusion wear between the tool and the workpiece. They are suitable for machining high-strength steels with a tensile strength of 600-1000 MPa, increasing tool life by 2-3 times compared to uncoated carbide. For ultra-high-strength steels with a tensile strength exceeding 1000 MPa, ultrafine-grained carbide (grain size 0.5-1μm) or cermet tools are required. Ultrafine-grained carbide has a bending strength of ≥1800 MPa and can withstand high cutting forces. Cermets (such as TiC-Ni-Mo) have a hardness of HRA90-92 and excellent wear resistance, but lower toughness, making them suitable for continuous cutting. Cubic boron nitride (CBN) tools are used for finishing turning of high-precision, high-hardness (HRC40 and above) high-strength steel. The cutting speed can reach 100-200m/min and the surface roughness can be below Ra0.8μm.
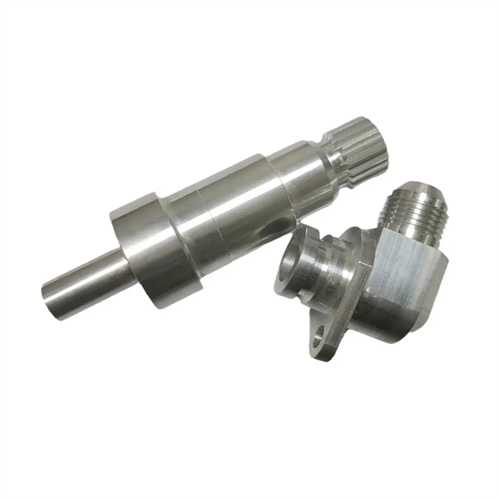
Tool geometry must be designed to balance cutting edge strength and cutting performance to reduce cutting forces and vibration. When turning high-strength steel, the rake angle is generally -5° to 5°. A smaller rake angle, or even a negative rake angle, can enhance cutting edge strength and resist greater cutting forces. The clearance angle is 5° to 8° to reduce friction between the flank face and the workpiece while ensuring tool rigidity. The lead angle should be between 75° and 90°. A larger lead angle reduces radial cutting forces, workpiece deformation, and vibration. Tools with a 90° lead angle are suitable for machining slender, high-strength steel parts. The rake angle should be between -3° and 10° to transfer cutting forces to the toolholder and improve the tool’s impact resistance. The tool tip radius should be between 0.4 and 1.2mm. A larger radius increases tool tip strength, but this should be adjusted based on workpiece rigidity. A smaller radius is recommended for low rigidity. Furthermore, the rake face of the tool should be ground with a negative chamfer (0.1-0.3mm width, -5° to 10° angle) to further enhance edge strength and prevent chipping.
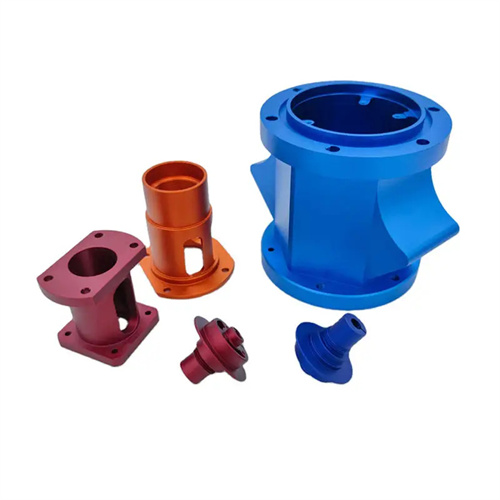
Optimizing cutting parameters requires balancing machining efficiency and tool life to avoid exacerbating work hardening. Cutting speed is a key parameter influencing high-strength steel turning. Excessively high cutting speeds can lead to a sharp increase in cutting temperature and increased tool wear, while excessively low speeds can increase the depth of the work-hardened layer. When machining high-strength steel with a tensile strength of 600-800 MPa, carbide tools should use a cutting speed of 80-120 m/min. When machining ultra-high-strength steel with a tensile strength of 800-1200 MPa, the cutting speed should be reduced to 50-80 m/min. When using CBN tools for finish turning, the speed can be increased to 100-150 m/min. The feed rate is generally 0.1-0.2 mm/min. A feed rate that is too low increases the friction time between the tool and the workpiece, exacerbating work hardening. A feed rate that is too high increases cutting forces and can easily lead to tool chipping. The depth of cut is determined according to the machining stage: 1-3 mm for rough turning to fully utilize the tool’s wear resistance; 0.1-0.5 mm for finish turning to ensure surface quality. For example, when turning Q690 low-alloy high-strength steel, a TiAlN-coated carbide tool with a cutting speed of 100 m/min, a feed rate of 0.15 mm/r, and a cutting depth of 2 mm can achieve better processing results.
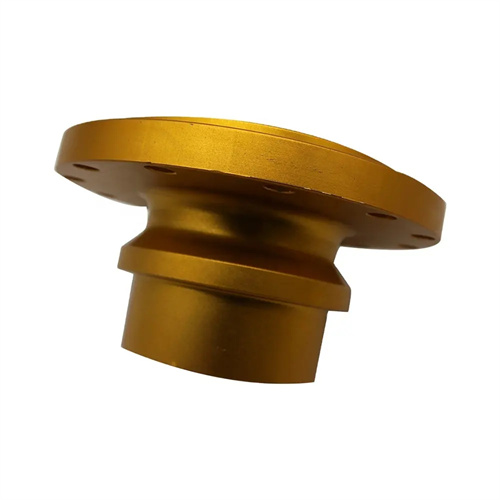
Cooling, lubrication, and process measures are crucial to high-strength steel turning quality. Due to the high cutting temperatures, a high-pressure, high-flow cooling system is required. A cutting fluid pressure of 5-10 MPa and a flow rate of ≥30 L/min are required. The cutting fluid should be sprayed directly onto the cutting zone to remove heat and minimize tool wear. The cutting fluid should be an extreme-pressure emulsion or extreme-pressure cutting oil containing extreme-pressure additives such as sulfur, phosphorus, and chlorine. These fluids form a lubricating film at high temperatures, reducing friction and adhesion. For high-strength steel parts with poor rigidity (such as slender shafts), a steady rest or center rest is required to enhance rigidity. The steady rest’s support blocks should be made of wear-resistant materials (such as carbide), and the support force should be adjusted to an appropriate range to minimize workpiece vibration. Workpiece dimensions should be measured regularly during machining. Due to the significant elastic recovery of high-strength steel (approximately 0.01-0.03 mm), a correction margin of 0.03-0.05 mm should be allowed for finish turning. In addition, when the tool is worn to a certain extent, the cutting force will increase sharply and it needs to be replaced in time. When the flank wear reaches 0.3-0.5mm, the tool should be reground or replaced to ensure the stability of the processing quality.
