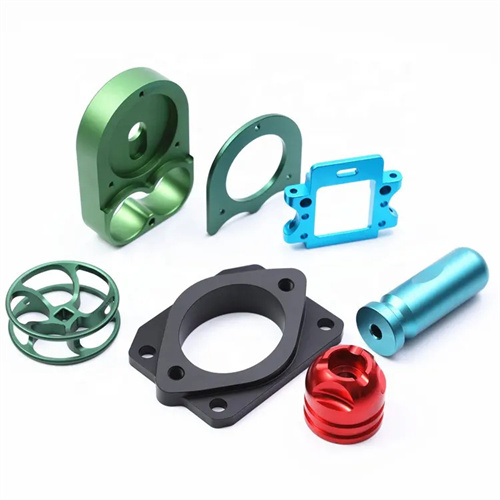
Turning of stainless steel step deep holes
Stainless steel step-holes are characterized by a depth-to-diameter ratio exceeding five times, with multiple steps of varying diameters within the hole. Widely used in fields such as petroleum machinery and pressure vessels, their machining quality directly impacts the sealing performance and service life of the equipment. Stainless steels (such as 304 and 316) possess high toughness (elongation ≥ 40%), strength (σb ≥ 520 MPa), and a tendency to work harden. However, machining step-holes presents challenges such as difficult chip evacuation, poor cooling, and insufficient tool rigidity. This can easily lead to hole wall scratches, dimensional inaccuracies, and tool breakage, necessitating specialized machining techniques.
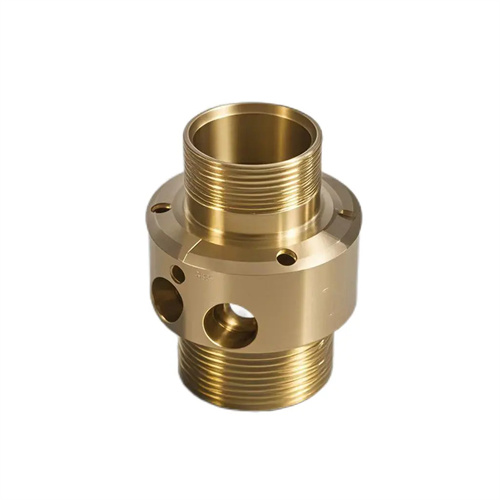
Tool structure and material selection are crucial for deep-hole turning of stainless steel steps. Due to the large tool extension during deep-hole machining (typically 5-10 times the hole diameter), a rigid, solid carbide tool is required. The toolholder diameter should be as large as possible (0.7-0.8 times the hole diameter) and hollow to facilitate cutting fluid flow and chip removal. Ultrafine-grained carbide (such as WC-TiC-Co) is recommended as a tool material. Its bending strength is ≥1800MPa and its hardness is ≥HRA90, making it suitable for machining tough materials such as stainless steel. Tool geometry requires special design: a rake angle of 8°-12° to minimize cutting deformation; a back angle of 6°-8° to enhance tool rigidity; a lead angle of 90°-100° to reduce radial cutting forces; and a passivated cutting edge (cutting edge radius 0.02-0.05mm) to prevent chipping during cutting. For the transition surface at the step, a forming tool is required to process the right angle or rounded corner between the step end face and the hole wall in one step to avoid the tool connection error caused by secondary processing.
Optimizing cutting parameters requires a balanced approach to chip evacuation and cooling. During rough turning, a lower cutting speed (60-80 m/min), higher feed rate (0.15-0.25 mm/r), and a deeper depth of cut (1-2 mm) should be employed to create short, spiraling chips for easier removal. For example, when machining a deep, stepped hole in 304 stainless steel with a diameter of 50 mm and a depth of 300 mm, the spindle speed is approximately 400 r/min, the feed rate is 0.2 mm/r, and the depth of cut is 1.5 mm. A high-pressure internal coolant system (pressure ≥ 10 MPa) sprays cutting fluid from within the tool into the cutting zone, both cooling the tool and flushing the chips out of the hole. During finish turning, the cutting speed is increased to 100-120 m/min, the feed rate is reduced to 0.08-0.12 mm/r, and the depth of cut is 0.1-0.3 mm. Extreme-pressure cutting fluid (containing chlorine and sulfur additives) is used to reduce tool wear and ensure a surface roughness of Ra 1.6 μm. When machining steps, it is necessary to slow down in advance 1-2 mm before the step to avoid dimensional errors caused by tool impact.
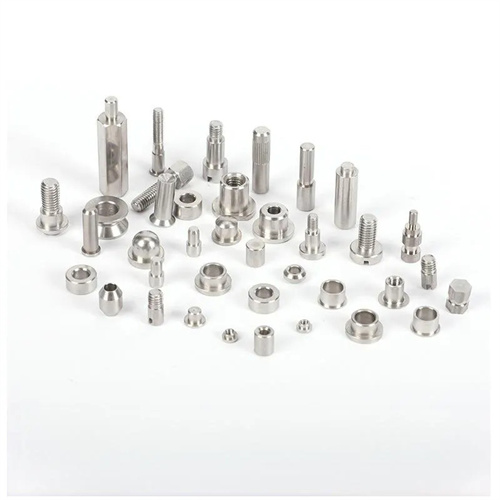
The chip removal method and cooling system design are crucial to machining quality. Internal chip removal is recommended for deep-hole machining of stainless steel steps. This involves the cutting fluid entering from the outside of the toolholder and carrying the chips out through the chip removal holes within the toolholder. The diameter of the chip removal holes should be ≥ 10mm to ensure smooth chip removal. For small-diameter deep-hole steps (≤30mm), gun drilling can be used. Its unique V-shaped chip grooves effectively evacuate chips, allowing for drilling speeds of 80-100m/min and feed rates of 0.05-0.1mm/r. Regular tool retraction and chip removal are required during machining. The retraction interval is determined by the hole depth, generally every 5-10 times the hole diameter, to prevent chip accumulation and blockage. The cooling system requires a high-flow (≥50L/min) and high-pressure cutting fluid with excellent lubricity and cooling properties. An emulsion (8%-10% concentration) is recommended, and it should be regularly filtered (to a precision of ≤20μm) to prevent impurities from scratching the hole walls.
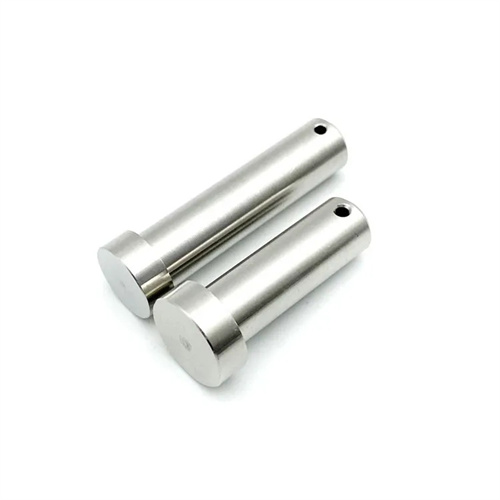
The selection of clamping method and processing datum must ensure the rigidity of the workpiece. Stainless steel stepped deep hole parts usually adopt a clamping method of clamping at one end and tightening at the other end. The clamping end adopts a three-jaw self-centering chuck, and the tightening end uses a live center. For parts with an aspect ratio of more than 10, a tool rest must be set in the middle position. The tool rest support block should be made of wear-resistant cast iron. The contact part with the workpiece must be ground to ensure that the contact area is ≥80%. The processing datum should select the outer circle and end face of the part. Use a dial indicator to correct the outer circle runout to within 0.02mm and the end face runout to within 0.01mm to ensure the coaxiality of the processing axis and the reference axis. For parts with stepped deep holes at both ends, a head-turning processing technology is required. First, the deep hole at one end is machined to the design size, and then the deep hole at the other end is machined using this hole as the reference (positioned by the mandrel) to ensure the coaxiality error of the holes at both ends is ≤0.03mm.
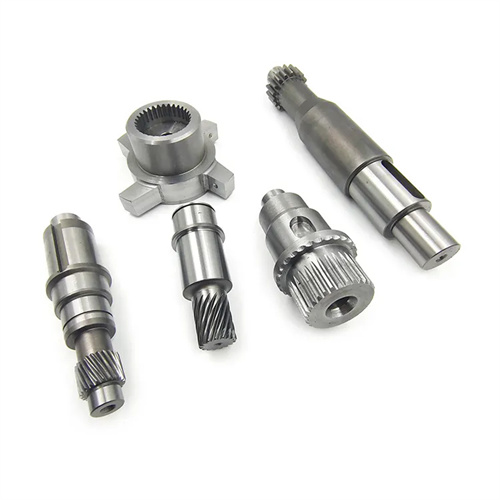
Process monitoring and precision testing are the final steps in ensuring quality. A displacement sensor is installed on the machine tool’s toolholder to monitor the tool’s feed depth in real time. It issues an alert when approaching a step, ensuring step dimensional accuracy (tolerance controlled within ±0.02mm). After each step, the tool is withdrawn and the hole diameter is measured with an internal diameter dial indicator to prevent dimensional deviations due to tool wear. Hole straightness errors can be measured using a laser diameter gauge. A laser beam is passed through the deep hole, and a photosensitive element at the receiving end records the radial deviation of the hole. Straightness errors should be controlled within 0.05mm/m. For mass-produced parts, a dedicated step-hole inspection fixture can be manufactured. Multiple measuring rods of varying diameters are installed on the fixture, and a go/no-go gauge is used to determine the pass/fail status of each step. Processed parts undergo 100% magnetic particle inspection to check for cracks and other defects in the hole wall to ensure the safety of stainless steel step-hole tools.
